
If you have ever had the perfect smash burger, you know the magic of that perfect bite: a pillowy soft buttery brioche bun, melty tangy cheese, a patty with the perfect balance of crispy caramelized exterior and juicy interior.
I am on a quest to perfect the smash burger, and here are all the tips and tricks I have learnt so far! I hope you try it, because once you have had the perfect smash burger, you will become a burger snob like me and won’t want to burger any other way! 😉
How to get the perfect juicy smash burger – the meat

To get the perfect smash burger, you have to start with the right type of meat. It needs to be a full fat ground beef, with at least 20-30% fat content. Fresh over frozen if you can manage it. Sometimes it is hard to know what percentage of fat is in the ground beef you get at the store, but look for good white specks throughout. The more white specks of fat you see, the higher the fat percentage in your meat.
If you absolutely must use a lean ground beef, make sure you follow the other techniques below to keep the juices from escaping the burger, and expect it may not be as golden brown or juicy as the full fat version. But it will still taste great.
Can you use chicken here? Sure. But that is not a true smash burger. But the same concepts apply, you need fat to get that juicy caramelized flavour. So no lean meat burgers here.
You could also mix it up and do a 50/50 lamb beef mix. Just remember, you want the fat to meat ratio to be at about 20-30%
Measure out your meat patties into 3.5-4 oz. portions. I found a 4 oz. patty is the perfect size to fit on a standard burger bun once it is smashed and cooked. If you are planning a double patty burger, I would go a bit lighter for each patty.
Roll out the patty portions into a ball and set aside until you are ready to cook. Do not. I repeat DO NOT season the meat. That will come later. Adding any salt or seasoning before hitting the heat of the pan will cause the meat to loose its moisture, which can lead to a very dry burger!
If you are not planning on cooking within the next few hours you can refrigerate the patties. But remember to take it out to come to room temperature at least 30 minutes before you start cooking!
The Smash – Seal in those Flavours


When you are ready to cook the burgers you want to use a cast iron griddle. If you do not have this, use a cast iron pan on the grill, or any other flat surface pan or griddle. Do not place burgers directly on the grill, as it will cause the moisture and fat inside of the burger to evaporate or drip away as it cooks once again causing a dry burger!
The goal here is to get the meat to cook in its own fat and juices. If you want to get technical it is the maillard reaction we are looking for – that thing that gives golden brown food that delicious flavour!
Make sure the grill is screaming hot (at least 350F-400F). Drop a patty on the grill and use a large flat spatula without any holes or a cast iron burger press to push down on the burger patty till it is at least 1/4 inch thin. Do not move the patty. Allow the heat of the pan to sear the meat and encourage that golden browning to happen.
Now is the time to salt & pepper the patty.
Sprinkle salt and pepper on the one side of the burger patty while the bottom cooks. After 2 minutes, flip the patty (it should be nice and golden brown on the bottom) and season the other side. Give it another press with your flipper of burger press. Allow to cook 2 more minutes and immediately transfer to your bun.
The Perfect Burger Bun
I do not like a bready burger bun. It has to be a brioche or potato bun. Around here a potato bun is hard to come by, so we get brioche buns. I like them lightly toasted, so while the burger is cooking we toast up the buns.
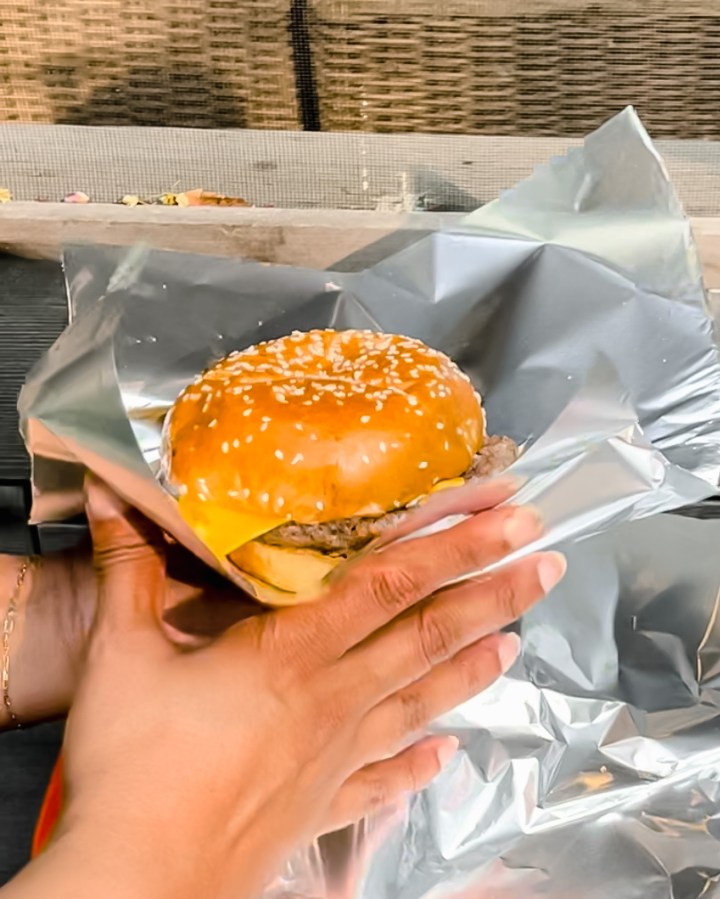
As soon as the burger patty is ready to come off the heat – take a large rectangle of aluminum foil, place the bottom bun on the foil, add the hot burger patty, top with sliced cheese (if you are a cheeseburger kinda person) cover with the top bun and wrap the foil.
Wrapping the hot burger for a few minutes before serving helps to not only melt the cheese perfectly, but it also allows the juices in the meat to redistribute making the burger even jucier!
The Toppings
Top your burger however you like. I like a saucy loaded burger, but no matter what I must always have caramelized onions on my burgers. If you have the time to make these give it a go. It does take a bit of time to make these, but the technique is actually quite easy.
Caramelized Onions for Smash Burgers
For about 1/2 cup of caramelized onions finely slice about 3-4 large white or vidalia onions. Place them in a large saucepan with about 1/4 cup oil and 2 Tbsp butter. Add a sprinkle of salt and allow the onions to heat up and soften on medium heat. Stirring occasionally to make sure they evenly brown. It will take about 1 hour at medium or medium low heat. Once the onions get to that perfect brown colour, add a splash (about 1-2 tsp) balsamic vinegar and allow to come to a boil once more. Turn off the heat an allow to come to room temperature before serving.


These caramelized onions will keep in the fridge in an airtight container for a few weeks. You can even use the caramelized onion oil to dress salads or to cook your eggs. I love adding a spoonful to my rice when it is boiling for extra flavour! Yum!
How would you top your smash burger?


The Perfect Smash Burger
Ingredients
- 1 lbs fresh ground beef 20-30% fat content (not lean!)
- flakey salt ,to taste
- pepper , to taste
- 4 brioche bun or other bun of choice
- 4 slices sliced cheese
- toppings of choice – caramelized onions, burger sauce, ketchup, horsradish mayo etc.
Instructions
- Measure and roll the beef into 3.5 to 4oz balls. Set aside until you are ready to cook. Optional – you can smash them now with the back of a flat bottom bowl or burger smasher, just make sure to and layer between parchment so they don't stick to each other. This will help speed things along at the grill or stove top.
- Using a cast iron pan, griddle or other flat bottom pan, heat to at least 350F (stove top or grill will work here, you just need that flat bottom so the fat and juices collect in the pan while the burger cooks to promote browning).
- Drop the ball of beef onto the pan. Use a large flat metal spatula without holes (you can cover a regular metal spatula with aluminum foil to get the same effect) or a burger press to press down on the burger to at least 1/4 inch thick. The thinner the better! (Tip: If you are finding the meat is sticking too much to your burger press, lightly grease the press before smashing.)
- Sprinkle with salt and pepper on one side. Allow to cook undisturbed for 2-2.5 minutes or until the edges start to get a deep brown caramelized look. Meanwhile toast your buns if you like.
- Flip the burger, it should be golden brown all over on one side. Season the other side now with salt & pepper and allow to cook for another 2 minutes till golden brown on the bottom or until the burger reaches your desired level of done-ness.
- Immediately transfer to a bun, top with a slice of cheese, (another patty if you want a double cheese burger!) add the top half of bun and wrap the whole thing in aluminum foil while it is still warm. Allow to rest at least 5 minutes for the juices in the meat to rest and the cheese to melt before serving.
- Add toppings and sauces of your choice. Enjoy your perfectly juicy golden brown delicious smash burger! 🙂


One thought on “The Perfect Smash Burger”